Photographic artwork

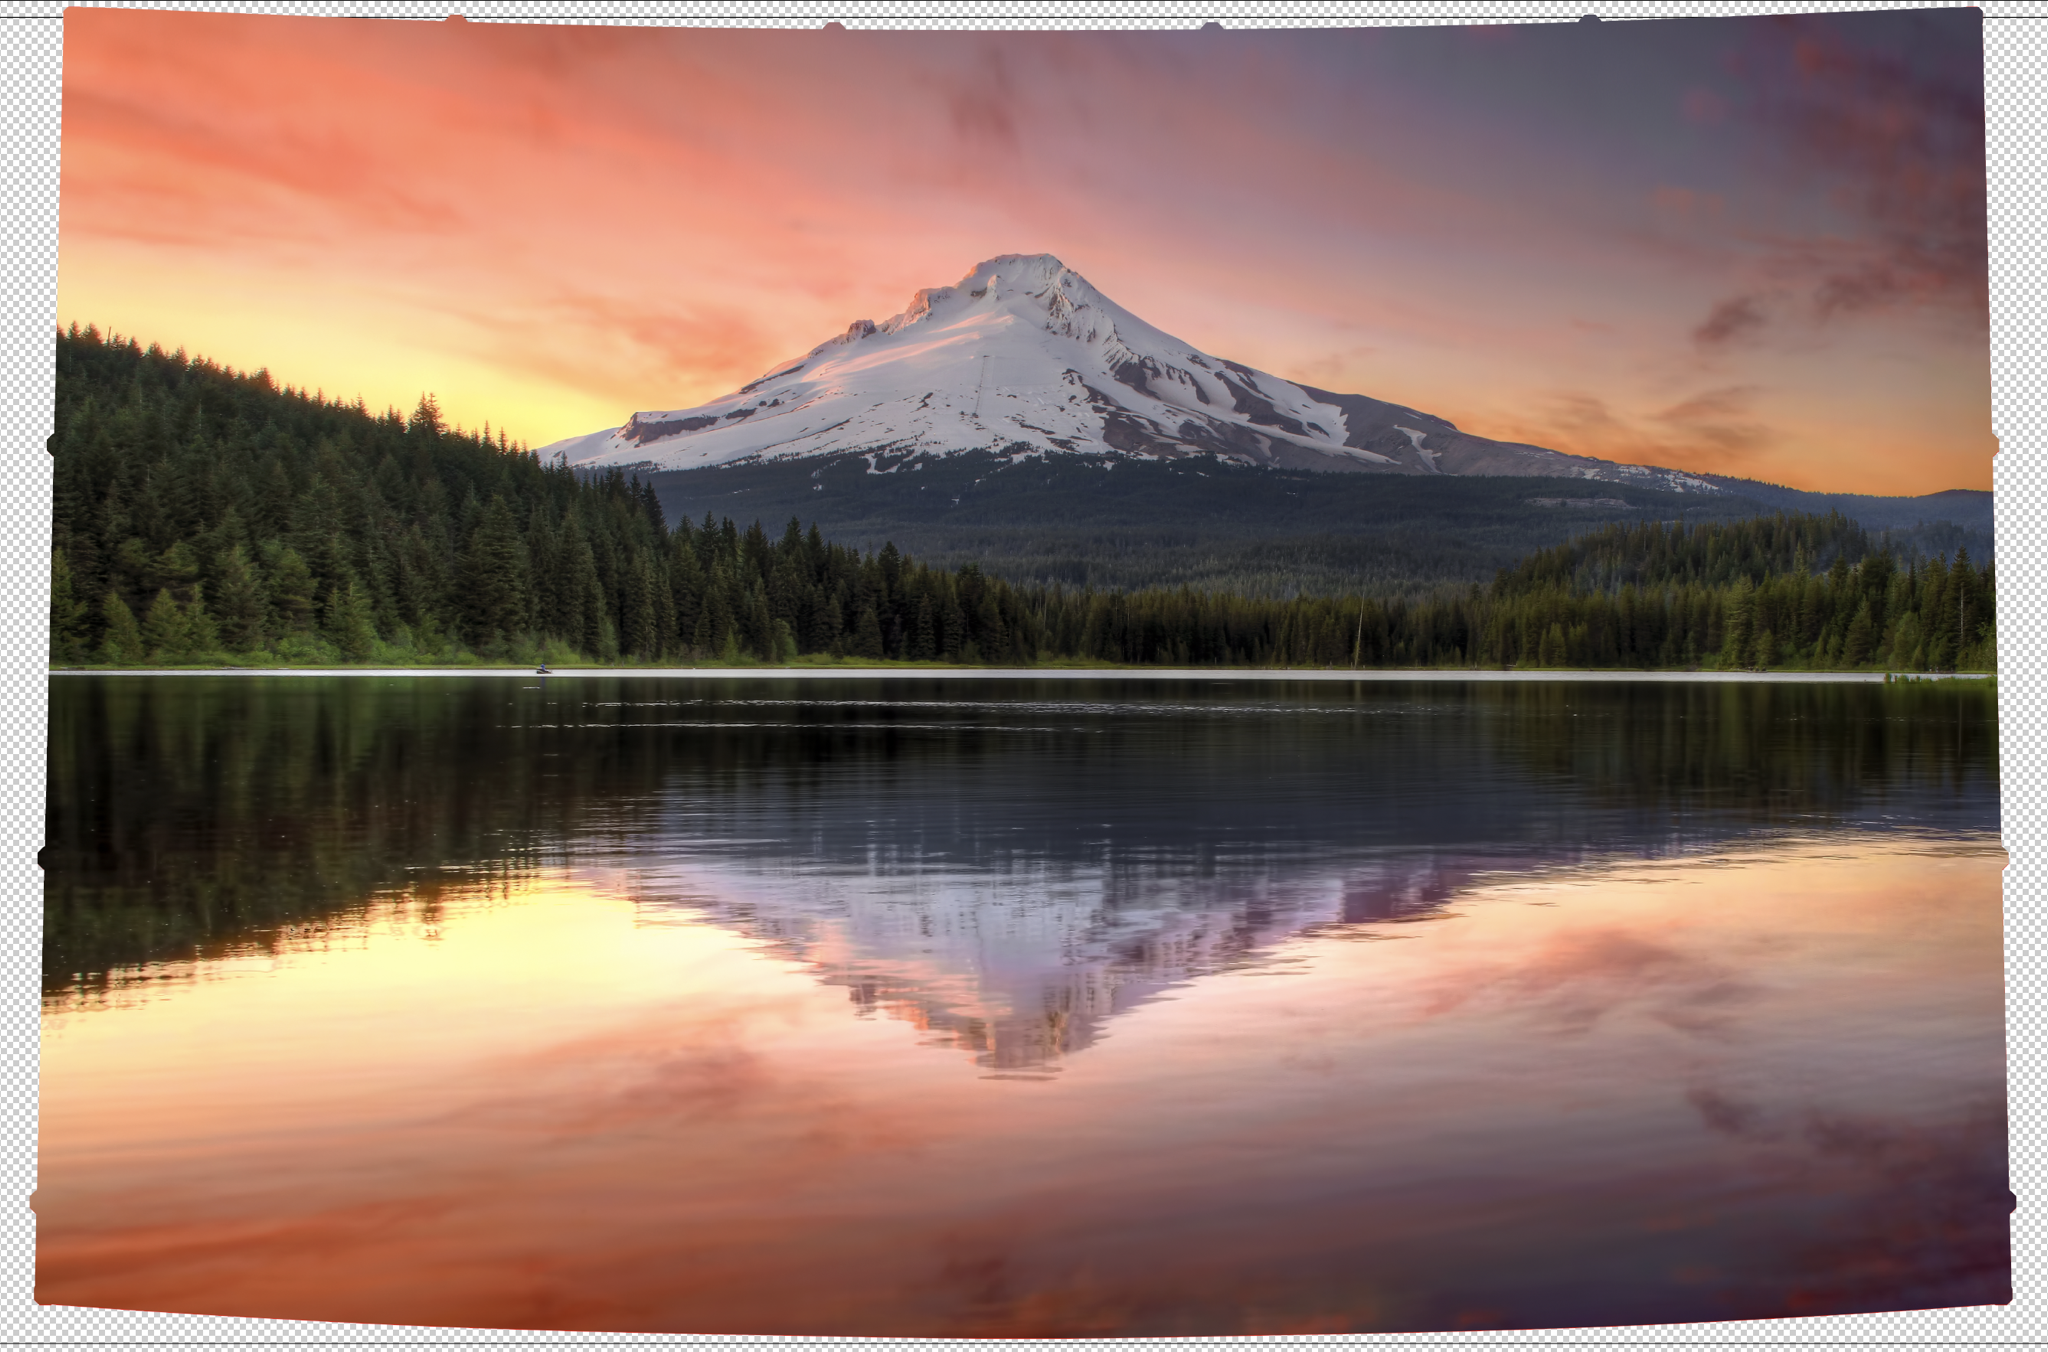
Our coach came with some generic artwork on a wall in the bedroom. But we wanted to personalize it a bit, so we replaced that with 12 photos of favorite places from our travels, printed on aluminum (so we don’t need to worry about breaking glass).

We laid the prints out on our bed to decide on the arrangement:

Artwork

How many of those places do you recognize? I bet there are a few stumpers. Let me know in the comments which ones you recognize, and which ones you’ve visited. See the end of this post for a full list.

The prints came with metal hangers, which wouldn’t really cut it in a rolling earthquake of a motorhome, so I attached Command Strips to stick them to the wall; these Command Strips come in two parts like velcro, so we’ll be able to swap out the pictures in the future if desired:

Artwork

Artwork

The wall in question, with some markers to guide placement:

Wall

Adding the first picture:

Artwork

Paladin helping:

Artwork

Artwork

Artwork

Artwork

Artwork

Done:

Artwork

Artwork

How many of those places did you recognize? Here’s a list, starting from top-left, with links to corresponding blog posts:

  1. Olympic National Park
  2. North Cascades National Park
  3. Yellowstone National Park
  4. Crater Lake National Park
  5. Devils Tower National Park
  6. Custer State Park
  7. Joshua Tree National Park
  8. Death Valley National Park
  9. Arches National Park
  10. Goblin Valley State Park
  11. Grand Canyon National Park
  12. Monument Valley Tribal Park

A huge improvement, and a nice reminder of some of our favorite places.

New tires

A big expense, but an important one: new tires. Motorhome and truck tires don’t wear out like car tires, but instead age out. Tires can last up to ten years, but the advice is to check them starting at five years, and aim for about seven years to replace them, or sooner if there are signs of cracking.

Our 2017 coach had the original tires, made in 2016, so were about due. And when we recently had our brake seize up, raising the temperature of the tire over the danger zone of 200°F, we decided it was time.

These big tires are over a grand each, and we have six of them, so it isn’t a trivial expense, but good tires are very important for the safety of the coach.

We went to Bay Diesel in Red Bay to get this done:

Bay Diesel

Bay Diesel

While there, we also got them to look at our generator, which had misbehaved earlier, but of course was working perfectly while they looked at it:

Generator

The rear wheel without the tires:

Rear wheel

Rear wheel

New tires:

New tires

New tires installed; they were all manufactured in late 2023, so they should be good for another 5-10 years:

New tires

New tires

We also did a test drive with a couple of techs to tweak the alignment of our Safe-T-Plus steering control system:

Test drive

Yay for new tires:

New tires

Engine compartment insulation

The insulation above the engine in our motorhome came loose. Apparently this is a fairly common issue, but not ideal:

Engine insulation

Engine insulation

I used some aluminum tape to temporarily repair it:

Engine insulation

But while in Red Bay we got one of the after-hours vendors, Mark Tedford (662-706-0692), to properly fix it for us.

There is an access panel to the engine compartment in our rear bathroom (yes, the engine is at the back, commonly called a “diesel pusher”):

Engine compartment

He removed that to enhance its insulation:

Engine compartment

The first time I’ve seen inside that compartment on our coach, looking down on our Cummins ISL 450 diesel engine:

Engine compartment

The default engine hatch insulation:

Engine insulation

His enhanced insulation:

Engine insulation

His improved insulation from the back:

Engine insulation


Engine insulation

Engine insulation

Much nicer. The bathroom floor used to get quite warm after a drive, but it is now much cooler. And now we shouldn’t need to worry about it falling apart.

Roof AC inspection

Another thing we did in Red Bay was get a couple of our roof AC units looked at, as the rear and mid ones were not performing well. The units were apparently fine, but they cleared out some debris from the ducting, which solved the issue; they’re working much better now.

We did this at Bunkhouse Conversion:

Bunkhouse Conversion

They had an excellent way to get onto the roof; no dealing with ladders, they used a cherry picker truck as an elevator:

Cherry picker

Cherry picker

Cherry picker

A quick and easy appointment, but well worthwhile.

Fixing TV lift

One big issue that we got Davidson RV to investigate was that our main TV lift wasn’t going down reliably; it would often stop partway, requiring pressing the down button several times. They investigated, and determined that the lift controller was bad:

TV lift controller

Here’s the TV laying on our bed while they investigated:

TV

They couldn’t get a replacement in time, so as a temporary workaround, they installed a switch to bypass the controller:

TV lift switch

I contacted the manufacturer, Venset in Denmark, and they referred me to their US distributor, Wood Technology.

I emailed Wood Technology, and Mike Fisher replied. We exchanged several very helpful emails, photos, and documents, discussing the issue and solutions. He provided me with a replacement controller:

New controller

The new controller, installed:

New controller

It was super easy to sync our existing remote control to the new controller, then I was able to successfully raise and lower the TV:

Remote

Here’s a peek of the lift mechanism:

Lift mechanism

Another potential issue that Mike discussed was that the curly cord could get tangled, preventing the lift from raising. So he recommended either cutting it out, or detaching the lower portion and rerouting the wire:

Wire

I did the latter, bundling the curly cord with the other wires coming from the TV:

Wire

That should avoid that issue. And we’re very glad that the lift mechanism is working properly again. Much appreciation to Mike at Wood Technology!

Tweaks at Davidson RV

We got Davidson RV to help us with a few other issues.

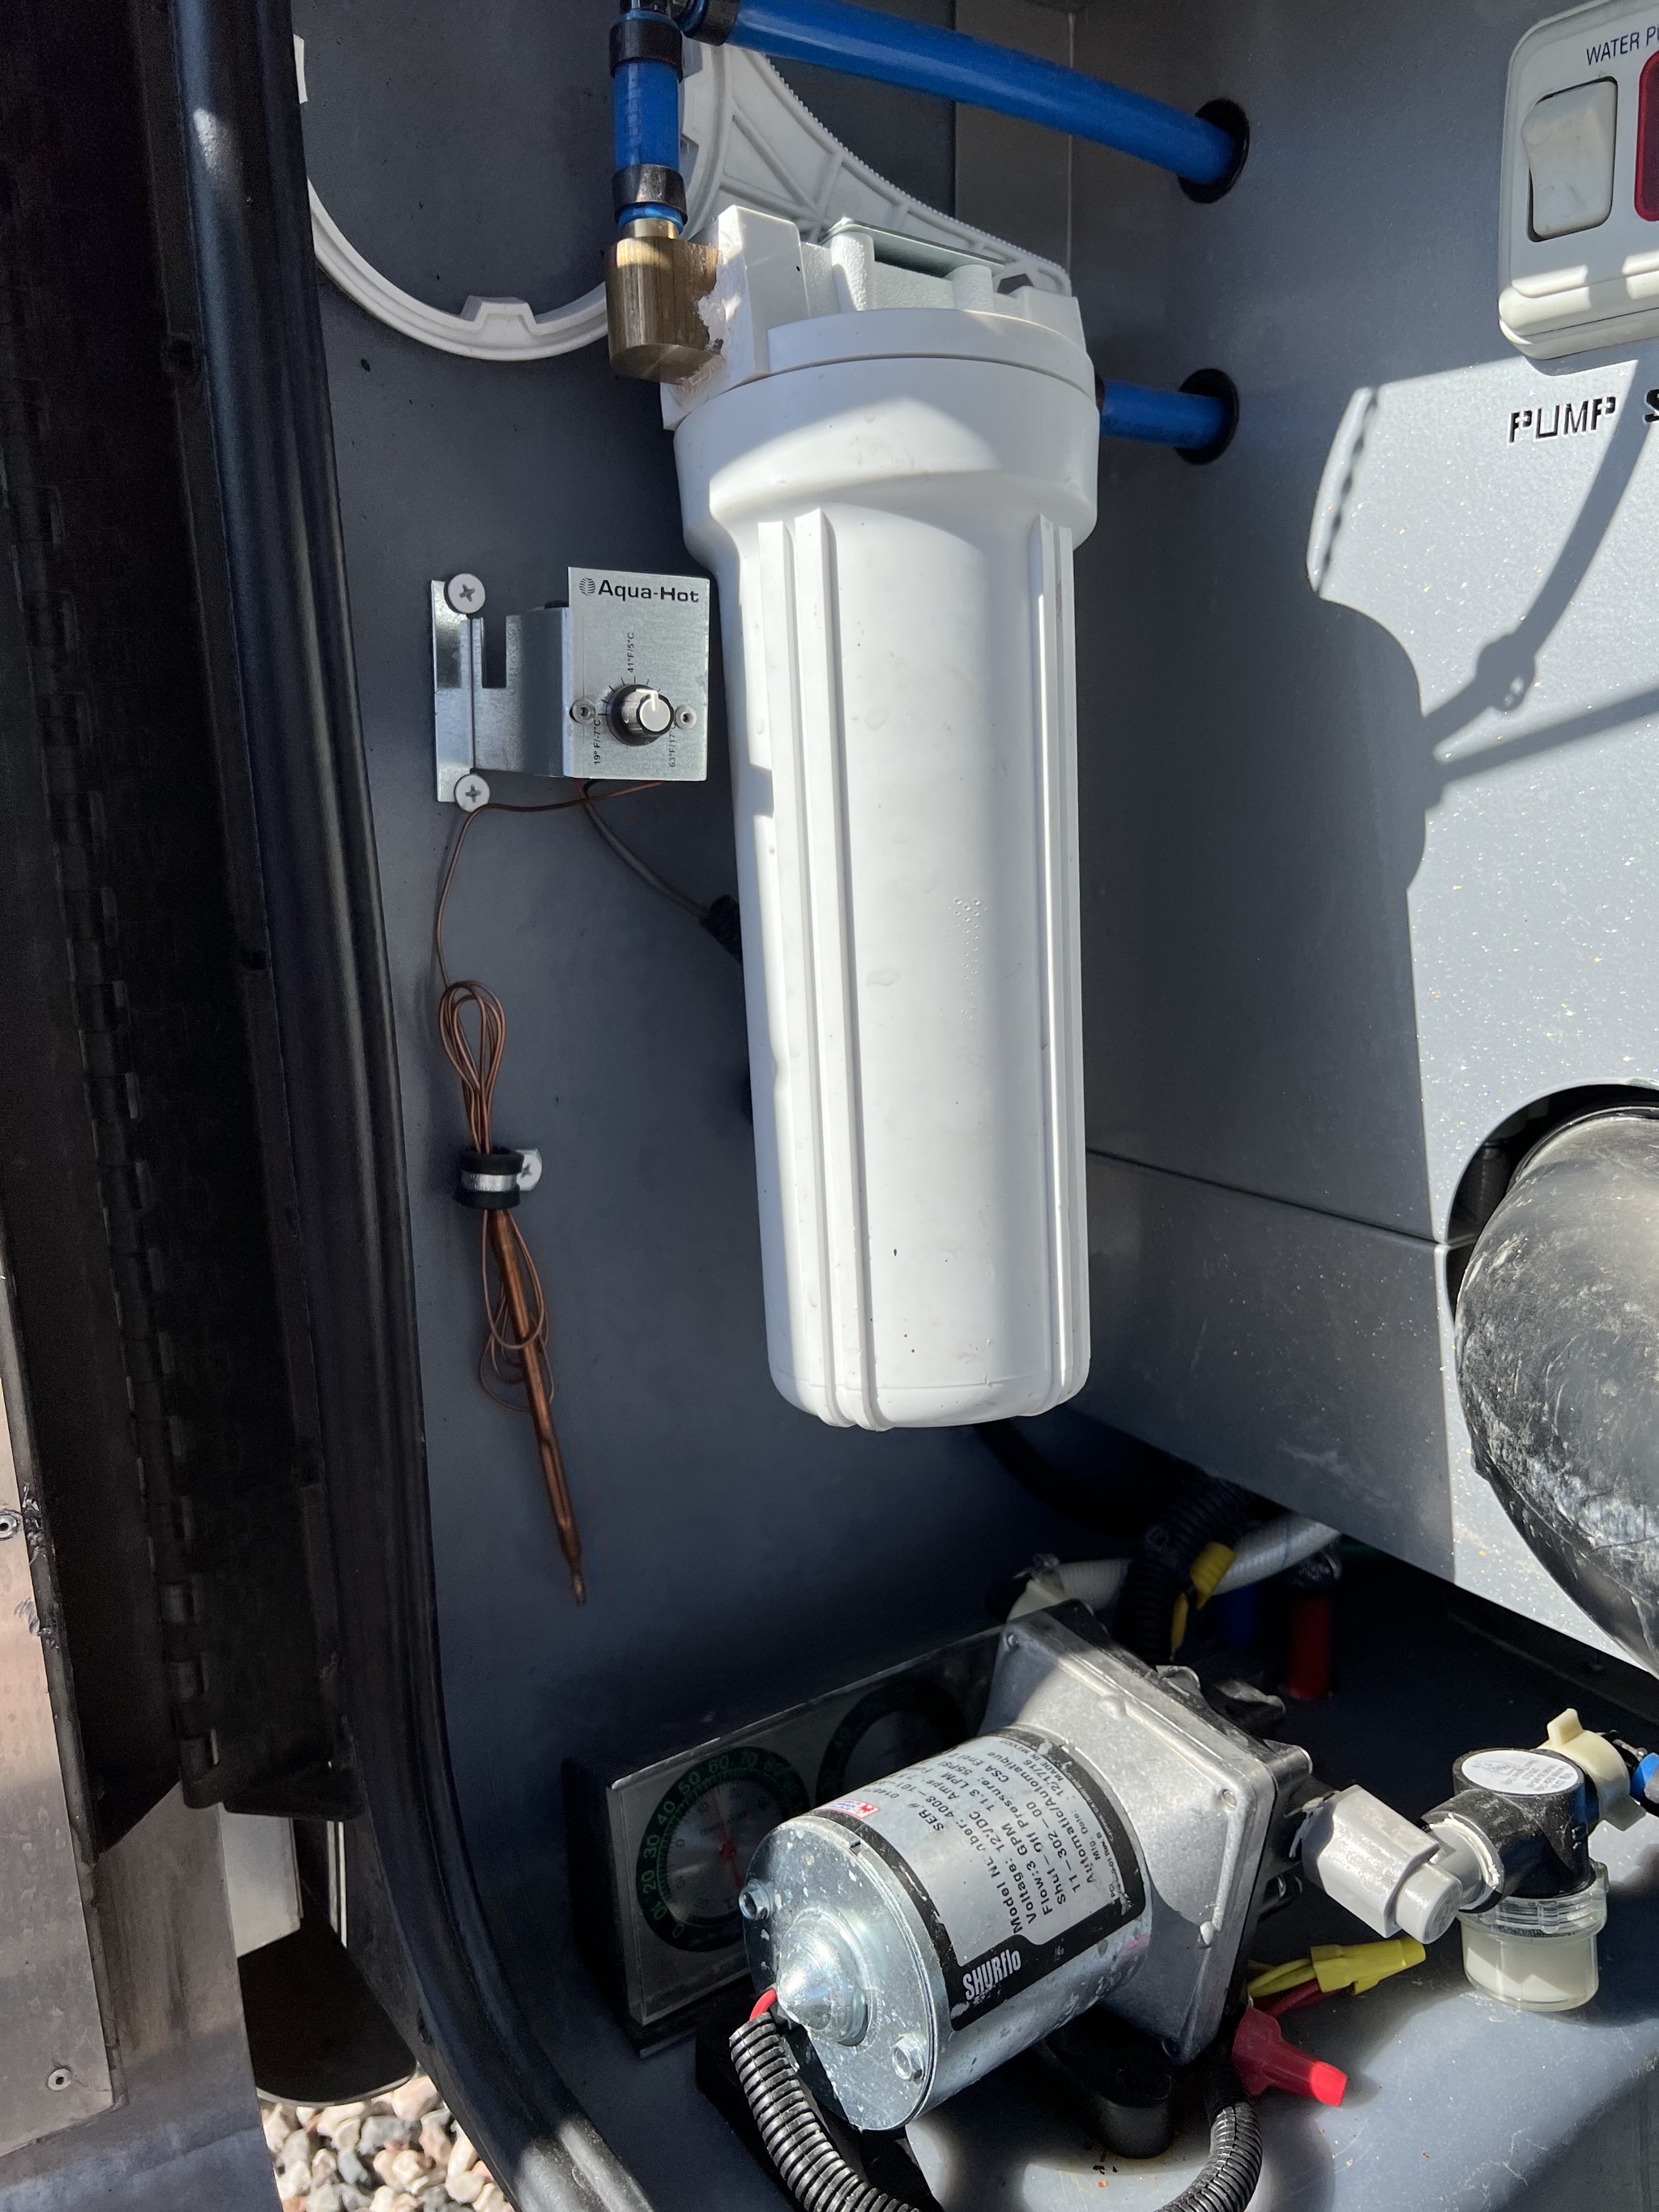
One was to replace our water pump, as the old one wasn’t performing well:

Water pump

Another issue with fortunate timing was the entry step didn’t fully retract; they lubricated it, and it’s been fine since (I have been lubricating it with silicone lube, but have since purchased some better lube):

Entry step

Finally, the USB ports on my side of the bed had stopped working, so they replaced them:

USB ports

I could have done all three of those things myself, but easier to get them to do so while we were there.

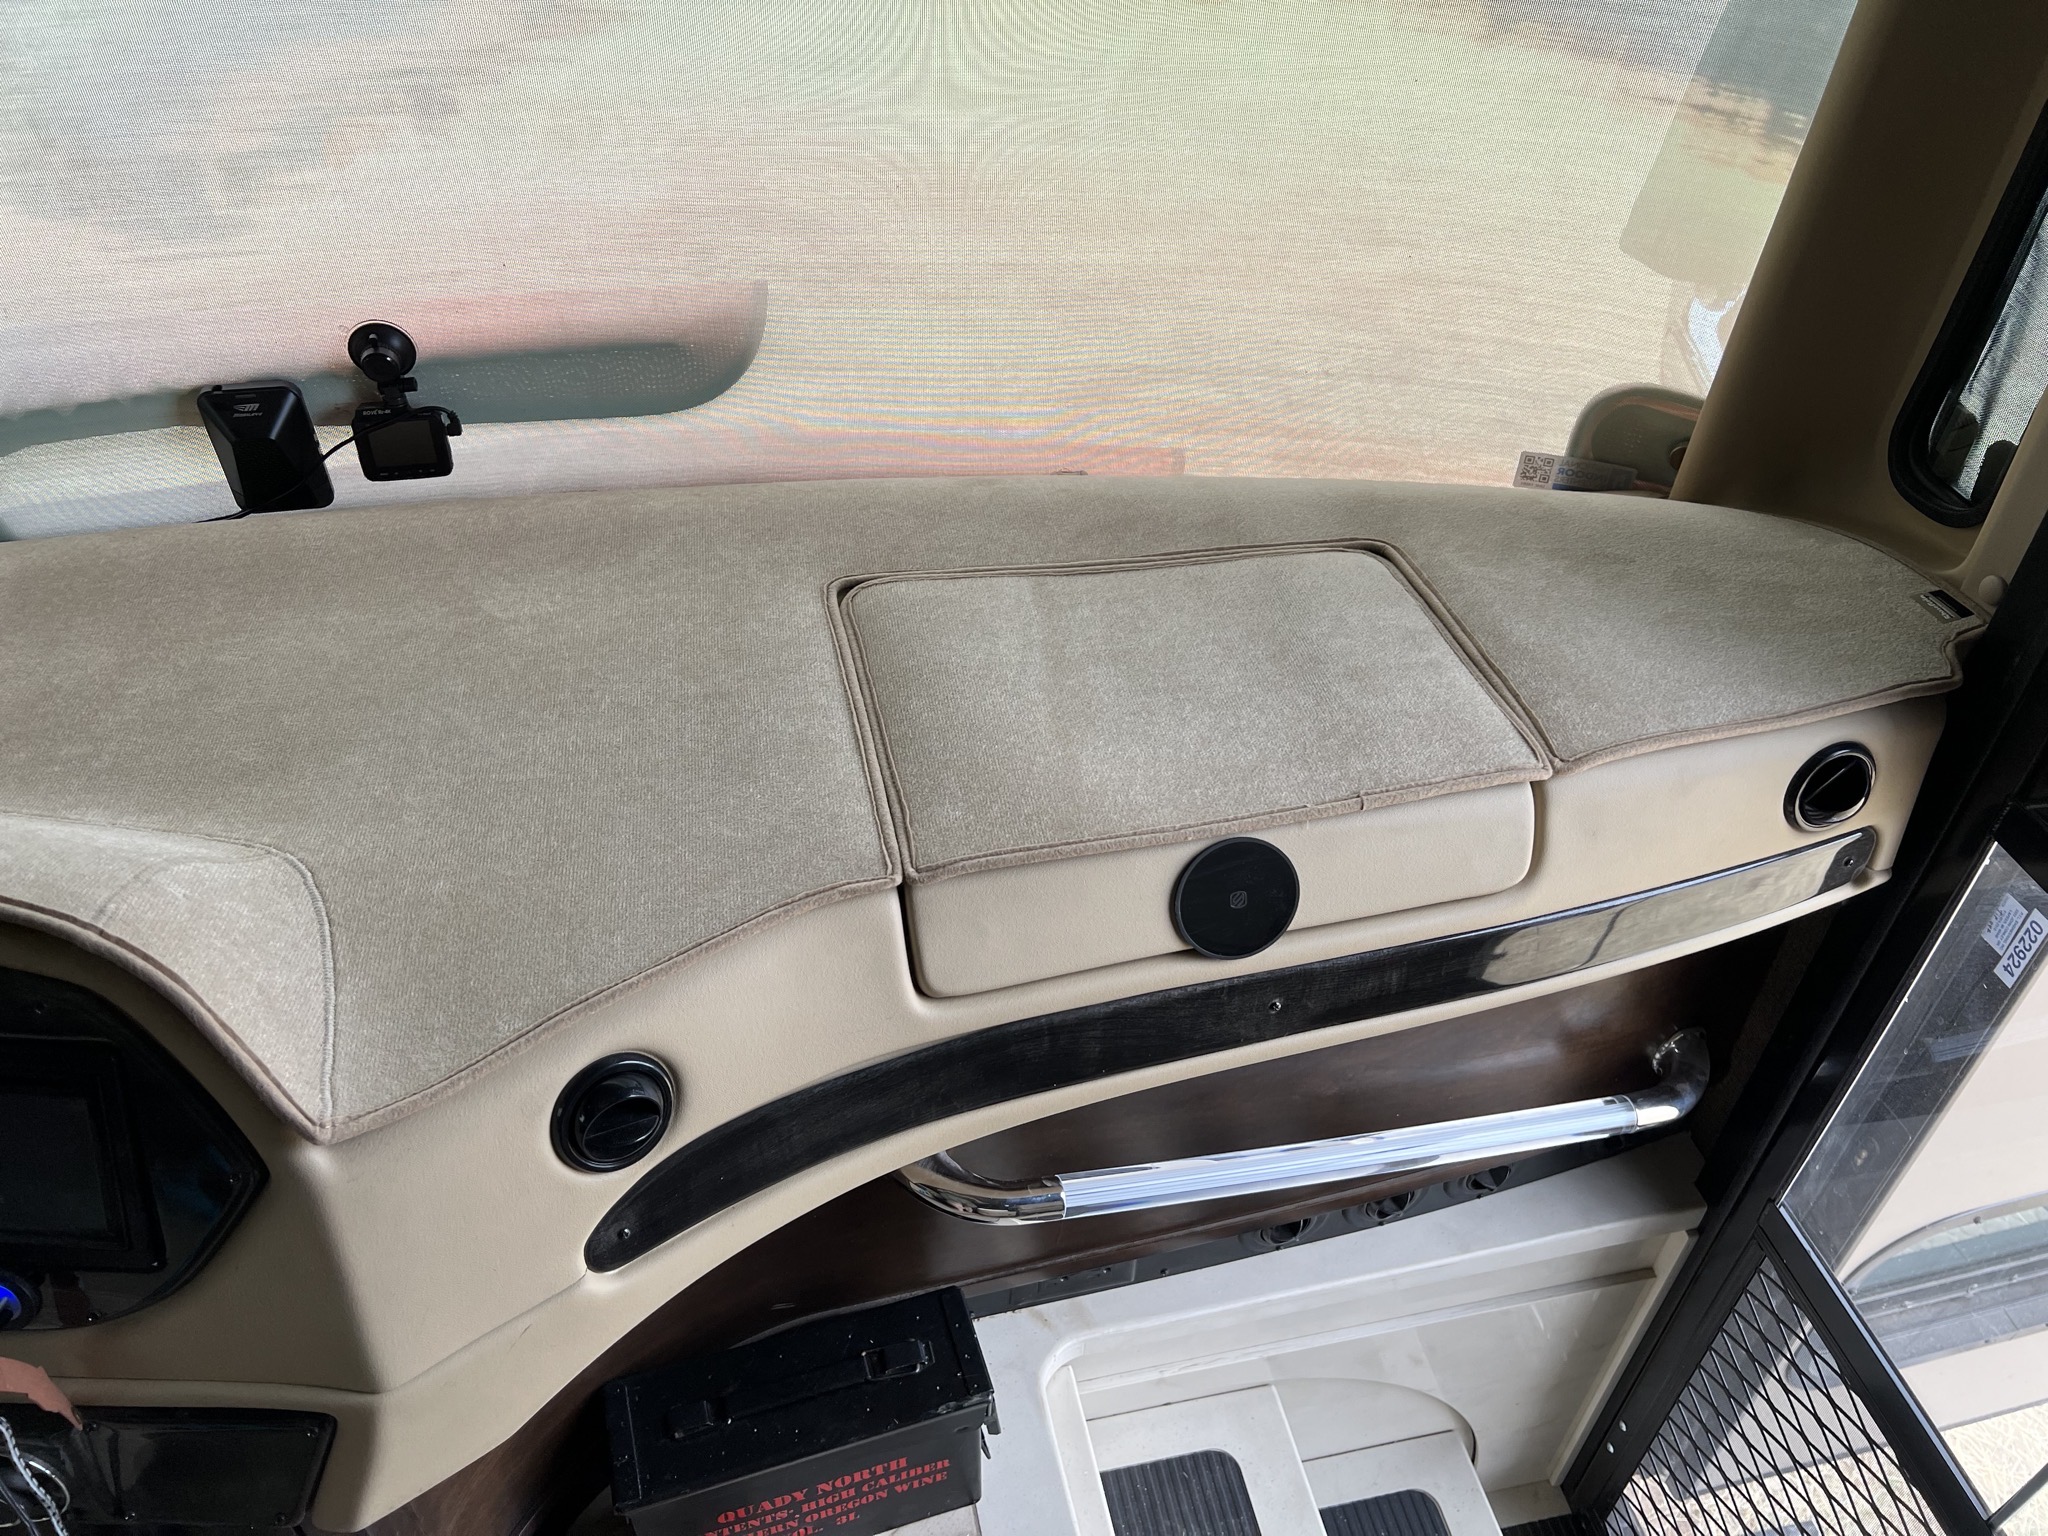
Cockpit carpet

Another little project while at Davidson RV was to add some custom-fit carpeting in the cockpit area:

Cockpit carpet

Cockpit carpet

Much better. That helps catch dirt coming into the coach, and is more comfortable, instead of walking on cold tile on cold mornings; the heated tile doesn’t extend into the cockpit area.

Replacing window valances

Our coach came with fabric valances above the windows, which we didn’t like… and Paladin liked scratching. So while in Red Bay, another project we got Davidson RV to do was to replace the fabric portions with wood.

Here’s an example of the old valance, in the bedroom:

Window valance

They removed the whole window surround:

Window valance removed

Then they replaced the fabric portion with wood, stained to a similar color:

Window valances

The improved version re-installed:

Window valance

Another example, the window above the TV lift:

Window valance

Much nicer.

Extra shelving

While in Red Bay we spent several days at Davidson RV, getting them to do several projects. One of those was to add extra shelves to many of our cupboards.

Some cupboards above our couch, before adding shelves:

Cupboards before adding shelves

After adding shelves:

Cupboards after adding shelves

Cupboards after adding shelves

We also got some organizers for ziploc baggies, lids, and measuring cups:

Cupboards after adding shelves

We got them to raise this new shelf up a bit, so our rice maker would fit:

Cupboards after adding shelves

Partially populated; it’s normally packed full of food:

Cupboards after adding shelves

Much tidier plate and bowl cupboard:

Cupboards after adding shelves

We also got them to add dividers to Jenn’s clothing drawers:

Drawer dividers

And an extra shelf in my bathroom cupboard:

Bathroom cupboard

Nice improvements that really help us organize our storage!