A timelapse of driving our rental campervan from Castlepoint to Wellington in New Zealand.
RV
Posts featuring the coach.
NZ: Castlepoint to Wellington
We traveled from Castlepoint to Wellington.
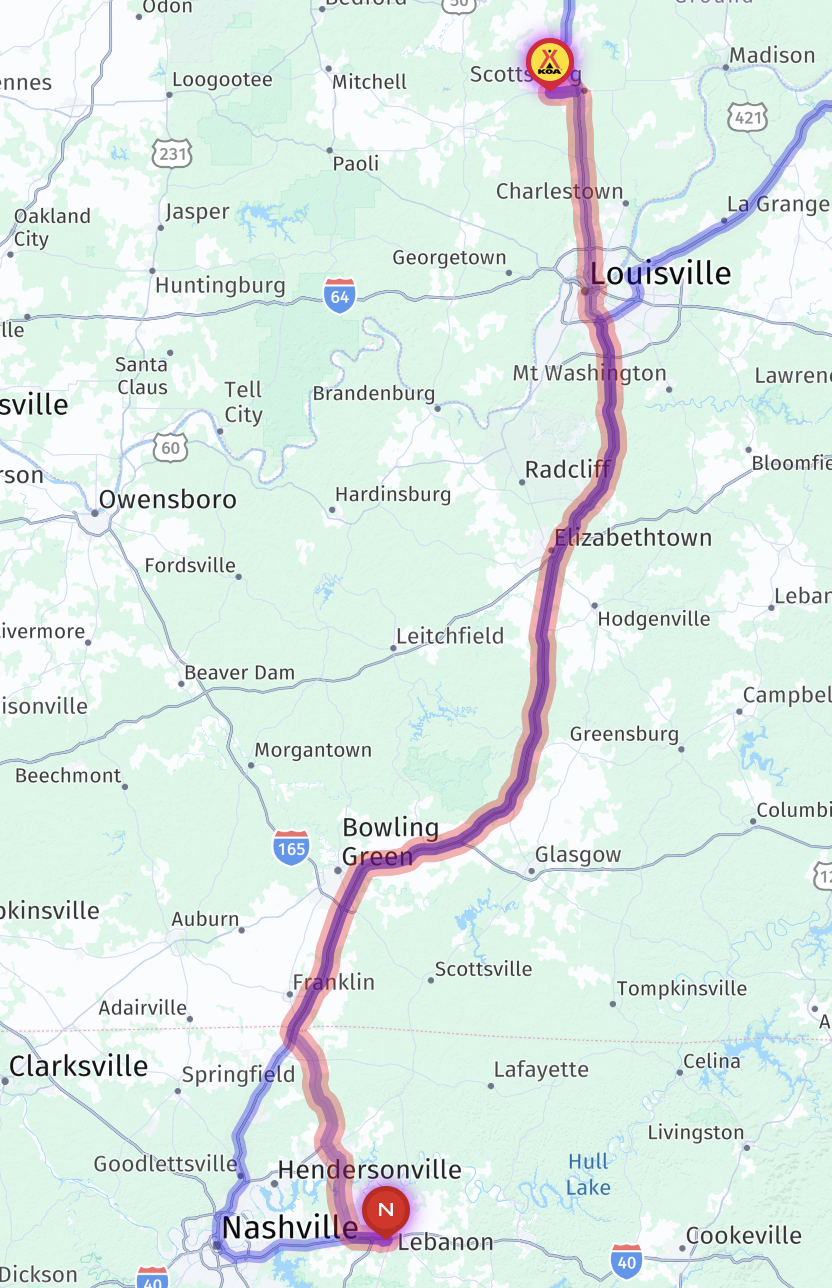
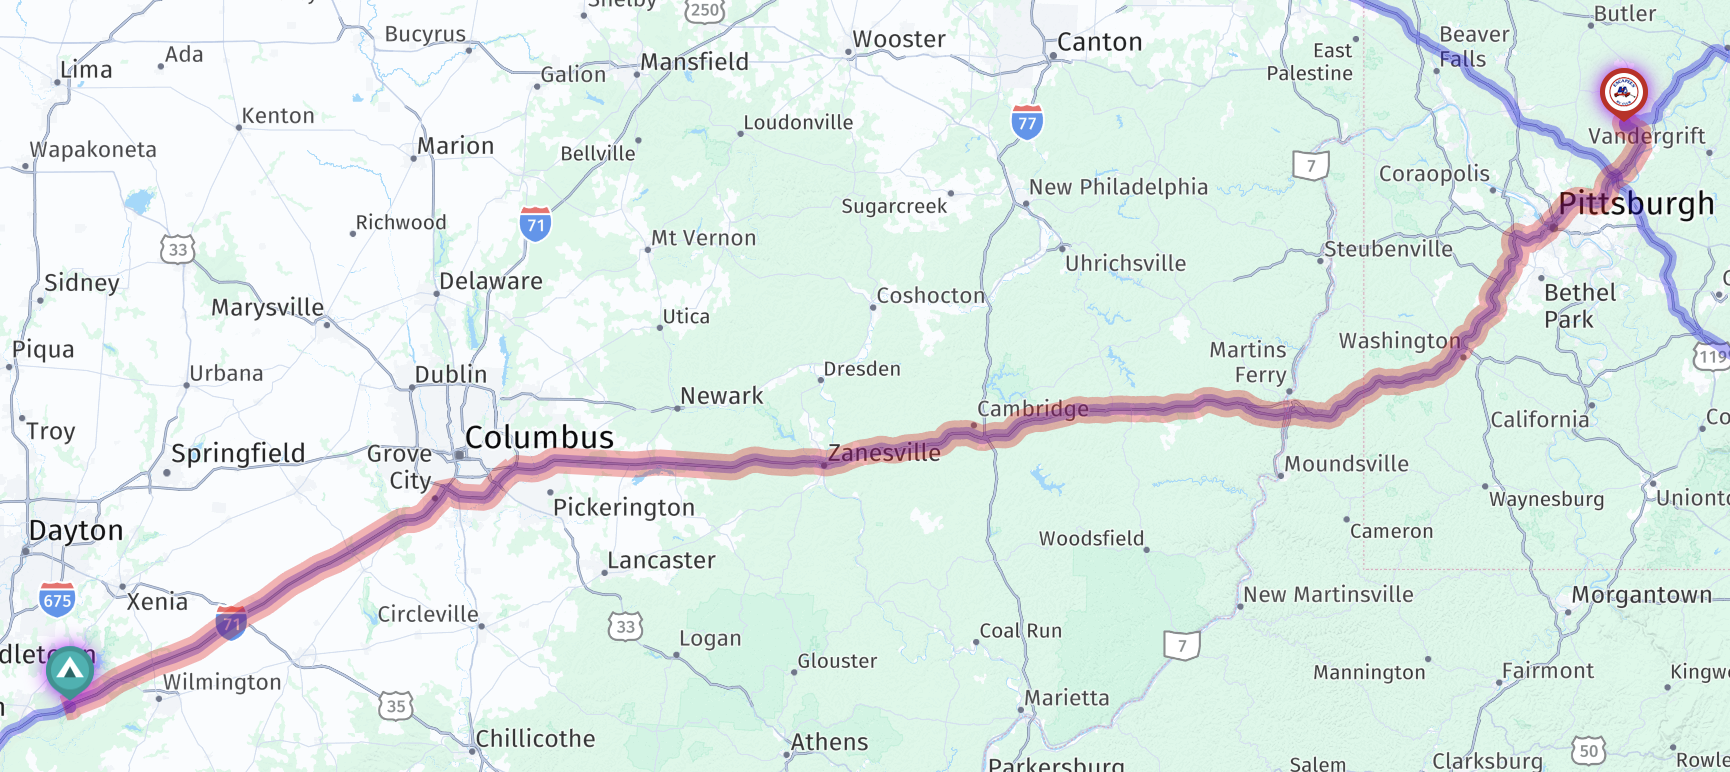
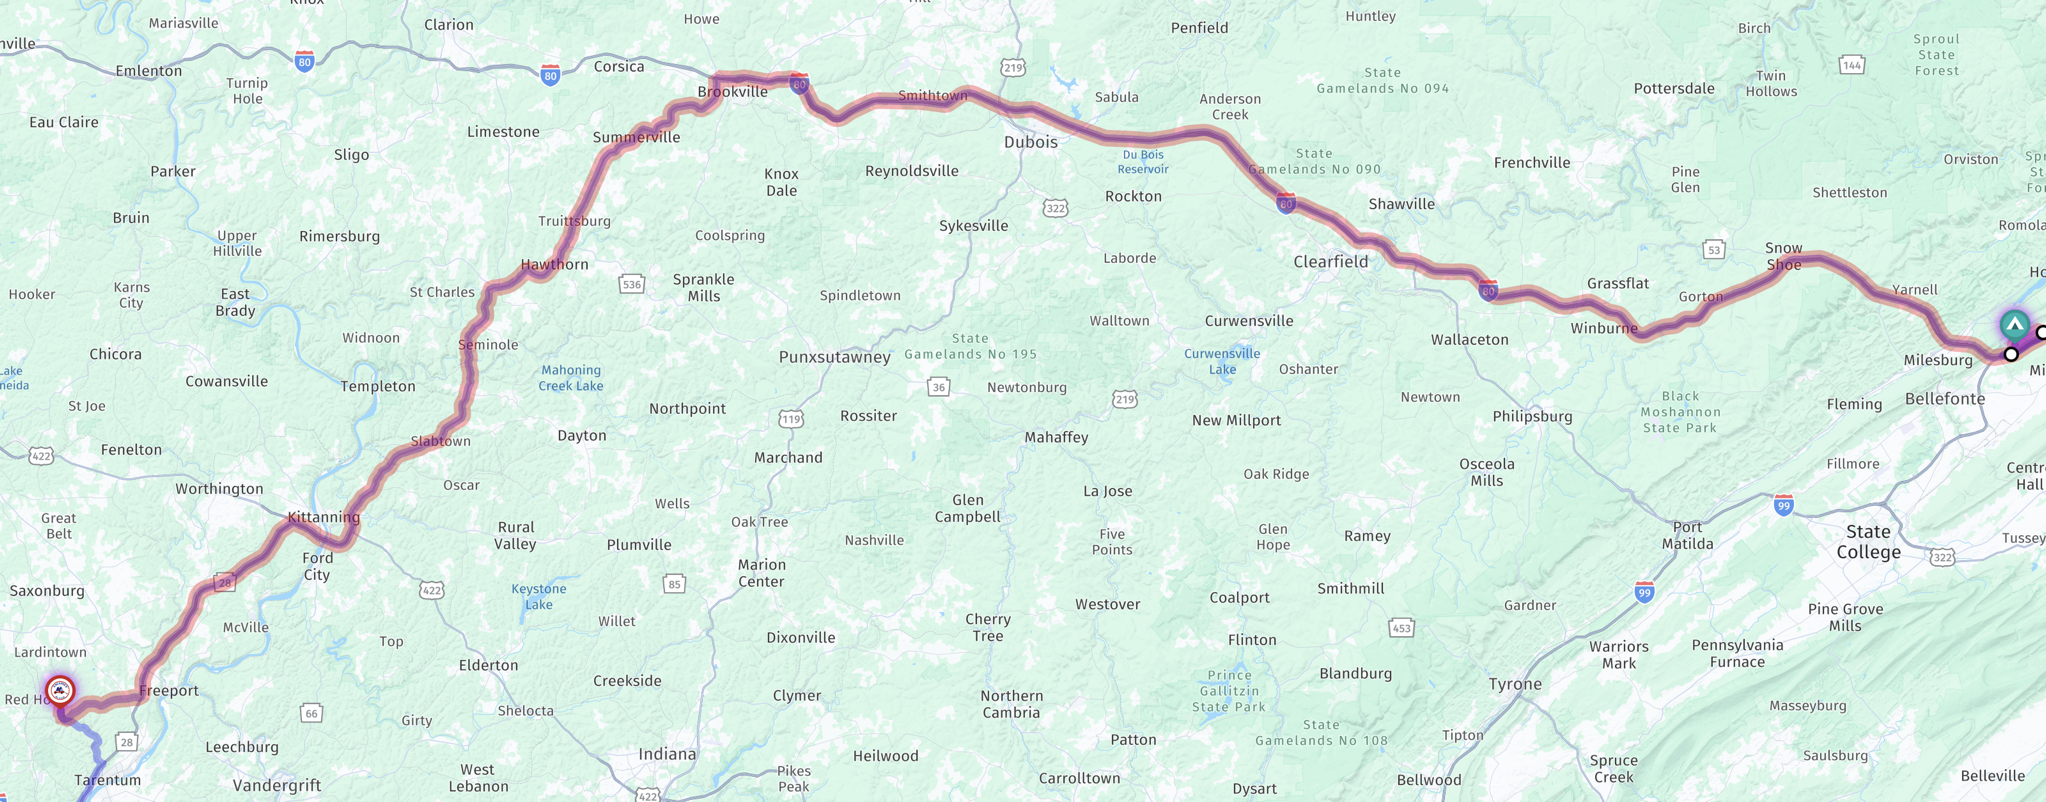
Here’s an interactive map of our route, with some of the stops marked:
Scenic sunrise; not a bad view out our side door:

We didn’t enjoy using the shower in the van, so used campground showers each day after that:

At the campgrounds in the North Island that we went to, the showers had timers, this one with a coin required:


Filling our water tank; the hose the rental company provided was rather short, so we usually had to move the van to reach:

Castlepoint homes:

We parked the van on the sand:

Beach and lighthouse:

Seals:


Looking back to our van:

Walking up to the lighthouse:

Fossilized shells:


Castlepoint:

The campground:


Masterton Golden Shears; proud of sheep shearing:

Entice Cafe for lunch:


Carterton:

Featherston classic hotel:

A glimpse of the Interislander ferry, that we’d be catching the following morning:

Wellington houses:

Wellington is a hilly city, with many tunnels:


Wellington selfie:

We met up with two sides of extended family, one at a cafe, the other at an uncle’s house, then spent the night stealth camping on the road in front of the house.
NZ video: Napier to Castlepoint campervan travel timelapse
A timelapse of driving our rental campervan from Napier to Castlepoint in New Zealand.
NZ: Napier to Castlepoint
We continued south from Napier to Castlepoint.
Here’s an interactive map of our route, with some of the stops marked:
Heading down the hill:

We stopped at the dump station, for the first time dumping our waste tanks:

Our van has a cassette toilet, our first experience with one:

Dumping the toilet cassette:

Bluff Hill Domain:


Napier is known for its art deco architecture:


We stopped at a Mitre 10 Mega hardware store to get some more housewares for the van:

And Soho Cafe for lunch:

South of Napier:

Waipawa:

A classic NZ hotel in Waipukurau:

Dannevirke:


One lane bridge:

Pahiatua:

Kiwi sign:

Curvy road:

One lane bridge:

Arriving at Castlepoint Holiday Park & Motels:

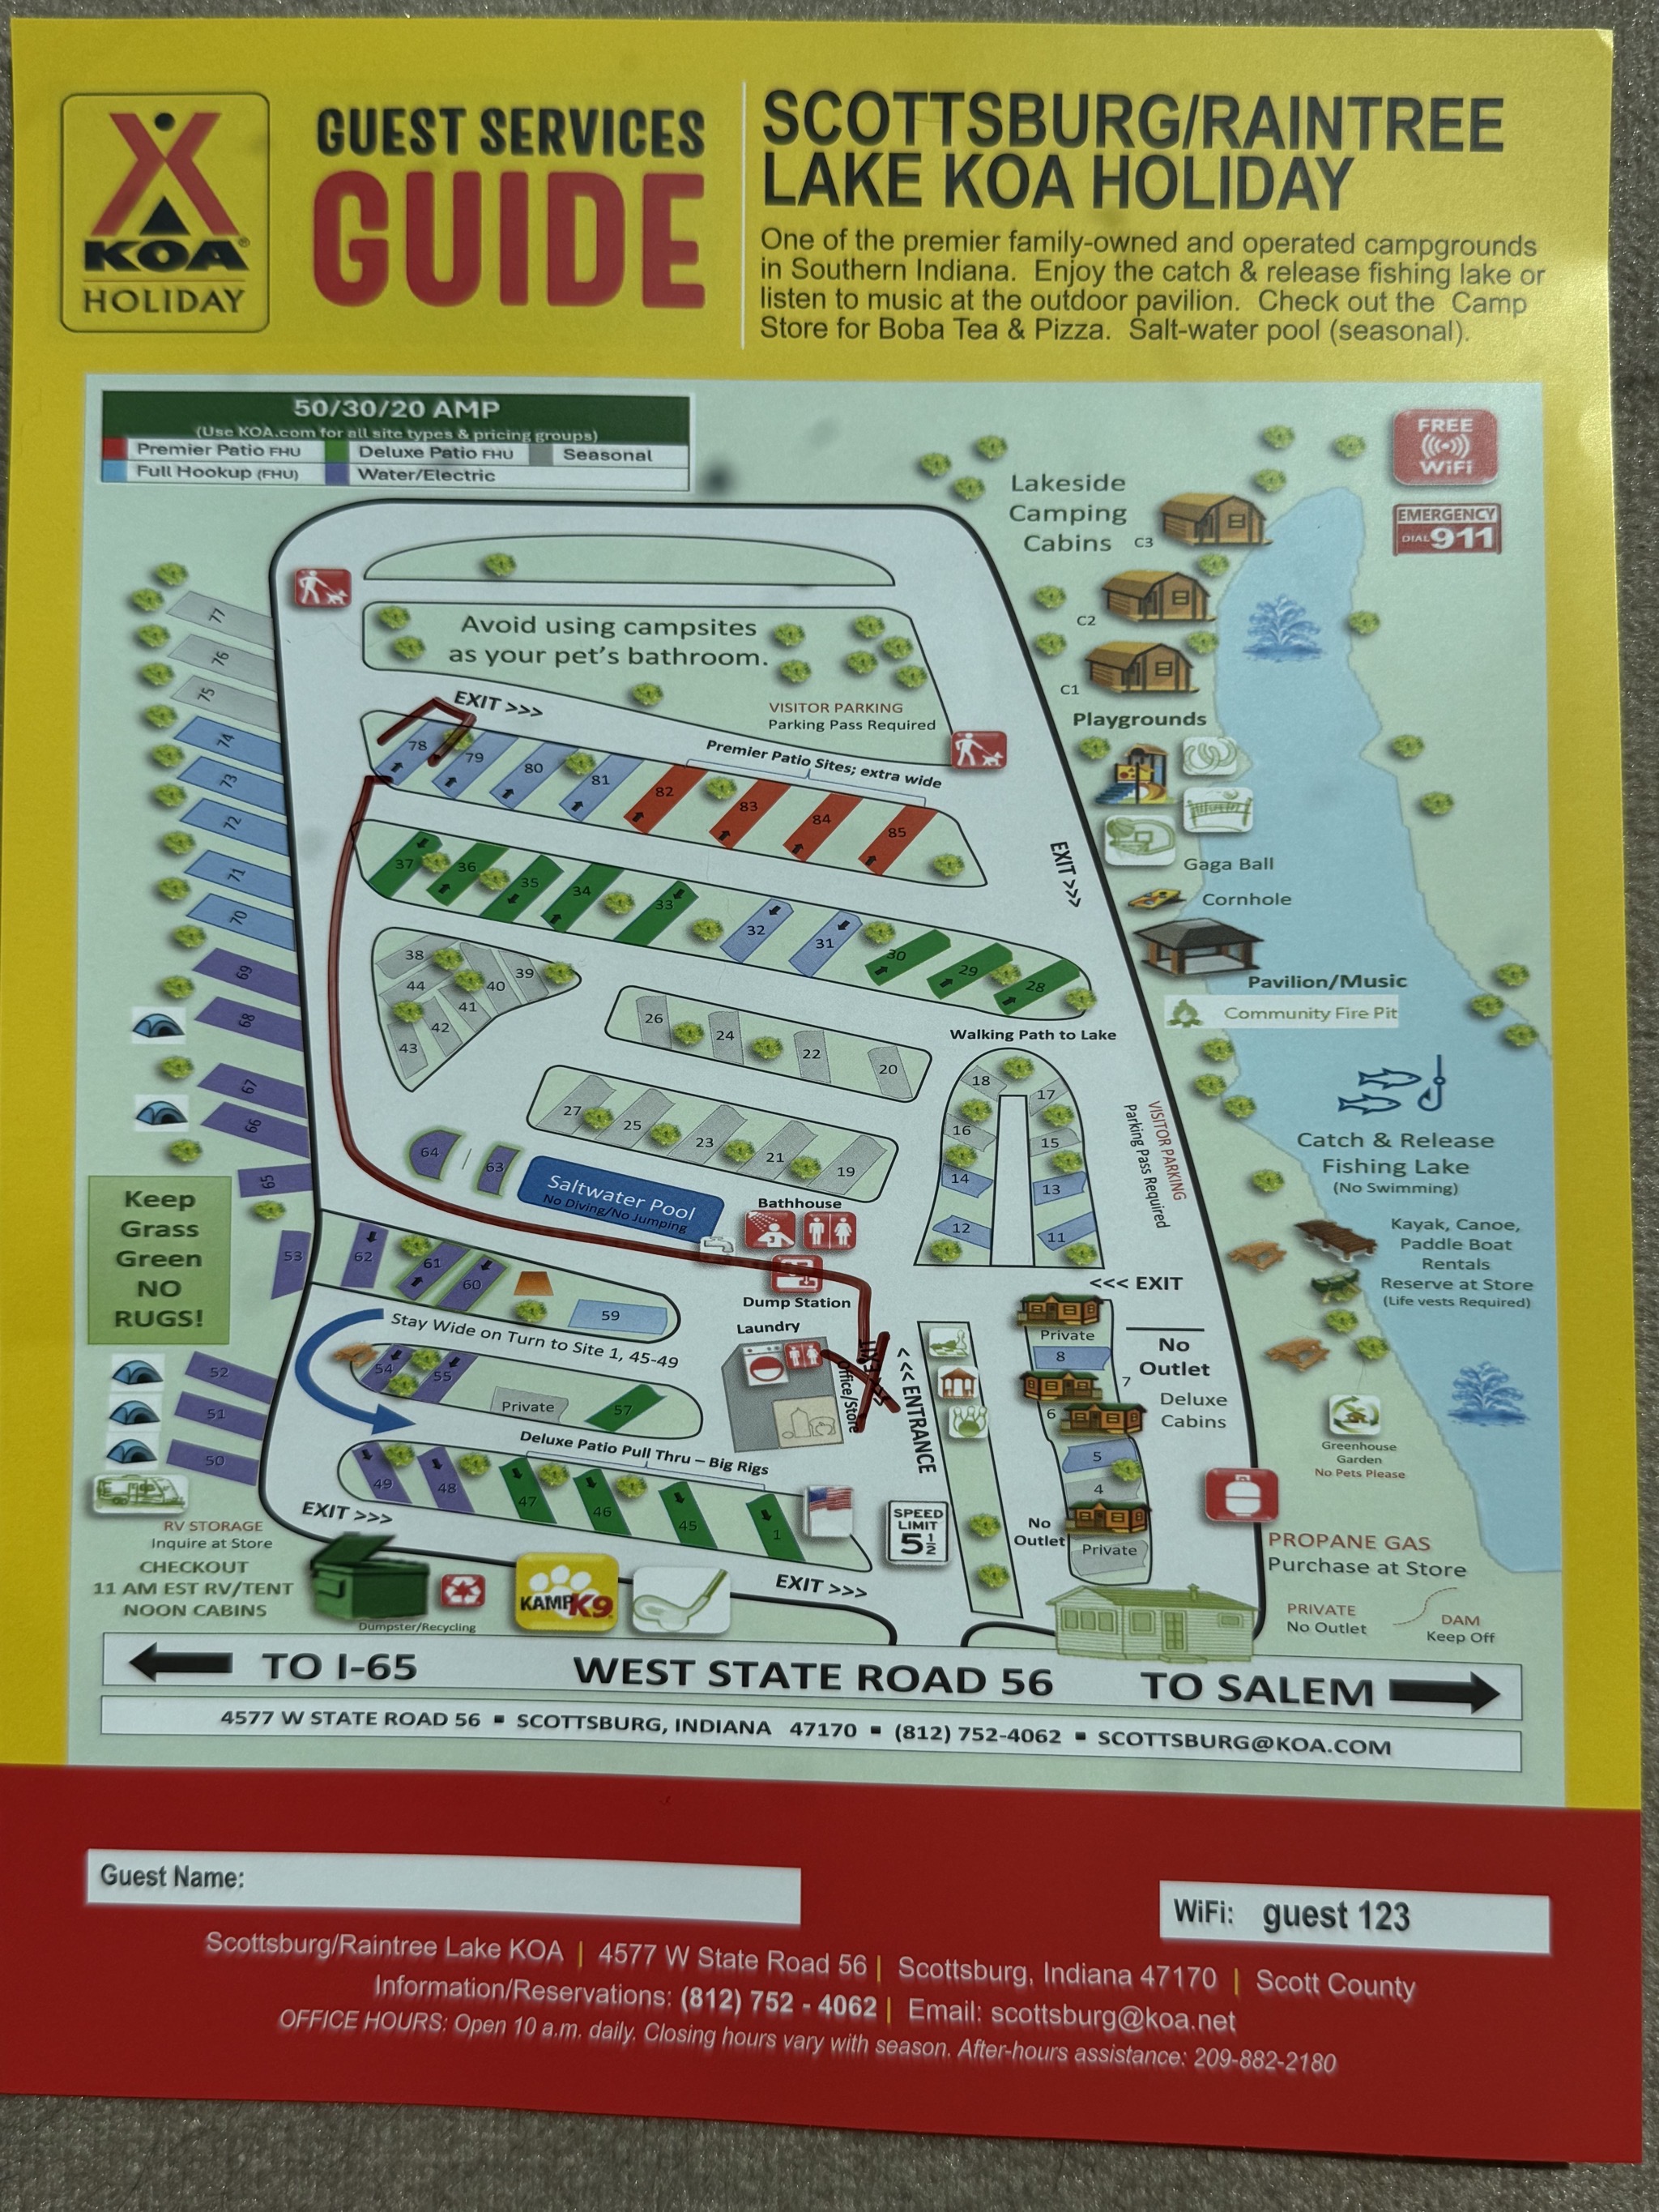
Castlepoint map:

Our site, another scenic waterfront site:


Castle Point Lighthouse:

Walk on the beach:

The Shop, the only store in town; we wanted to get some fish & chips there, but they were closing:

Surfer:


We really enjoyed this area.
NZ video: Rotorua to Napier campervan travel timelapse
A timelapse of driving our rental campervan from Rotorua to Napier in New Zealand.
NZ: Rotorua to Napier
Continuing our journey, we traveled south from Rotorua to Napier.
Here’s an interactive map of our route, with some of the stops marked:
Our van in our site in the morning:

The electrical connections are a bit different in NZ… some in better condition than others:

We brought our AeroPress and manual coffee grinder, and bought some local coffee and an electric kettle / hot water jug to make coffee in our van:

Some ducks in front of our site:

Heading out, we stopped at the Skyline Gondola:


Selecting a morning snack:

Snack and coffees with a view:

Watching the luge:

Gondola selfie:

Back down the gondola:

Souvenier photos:


Geothermal power plant:


Huka Falls:


In Taupo is the world’s coolest McDonalds with a plane:


A waterfall viewpoint:


Arriving at Napier Beach Top 10 Holiday Park:

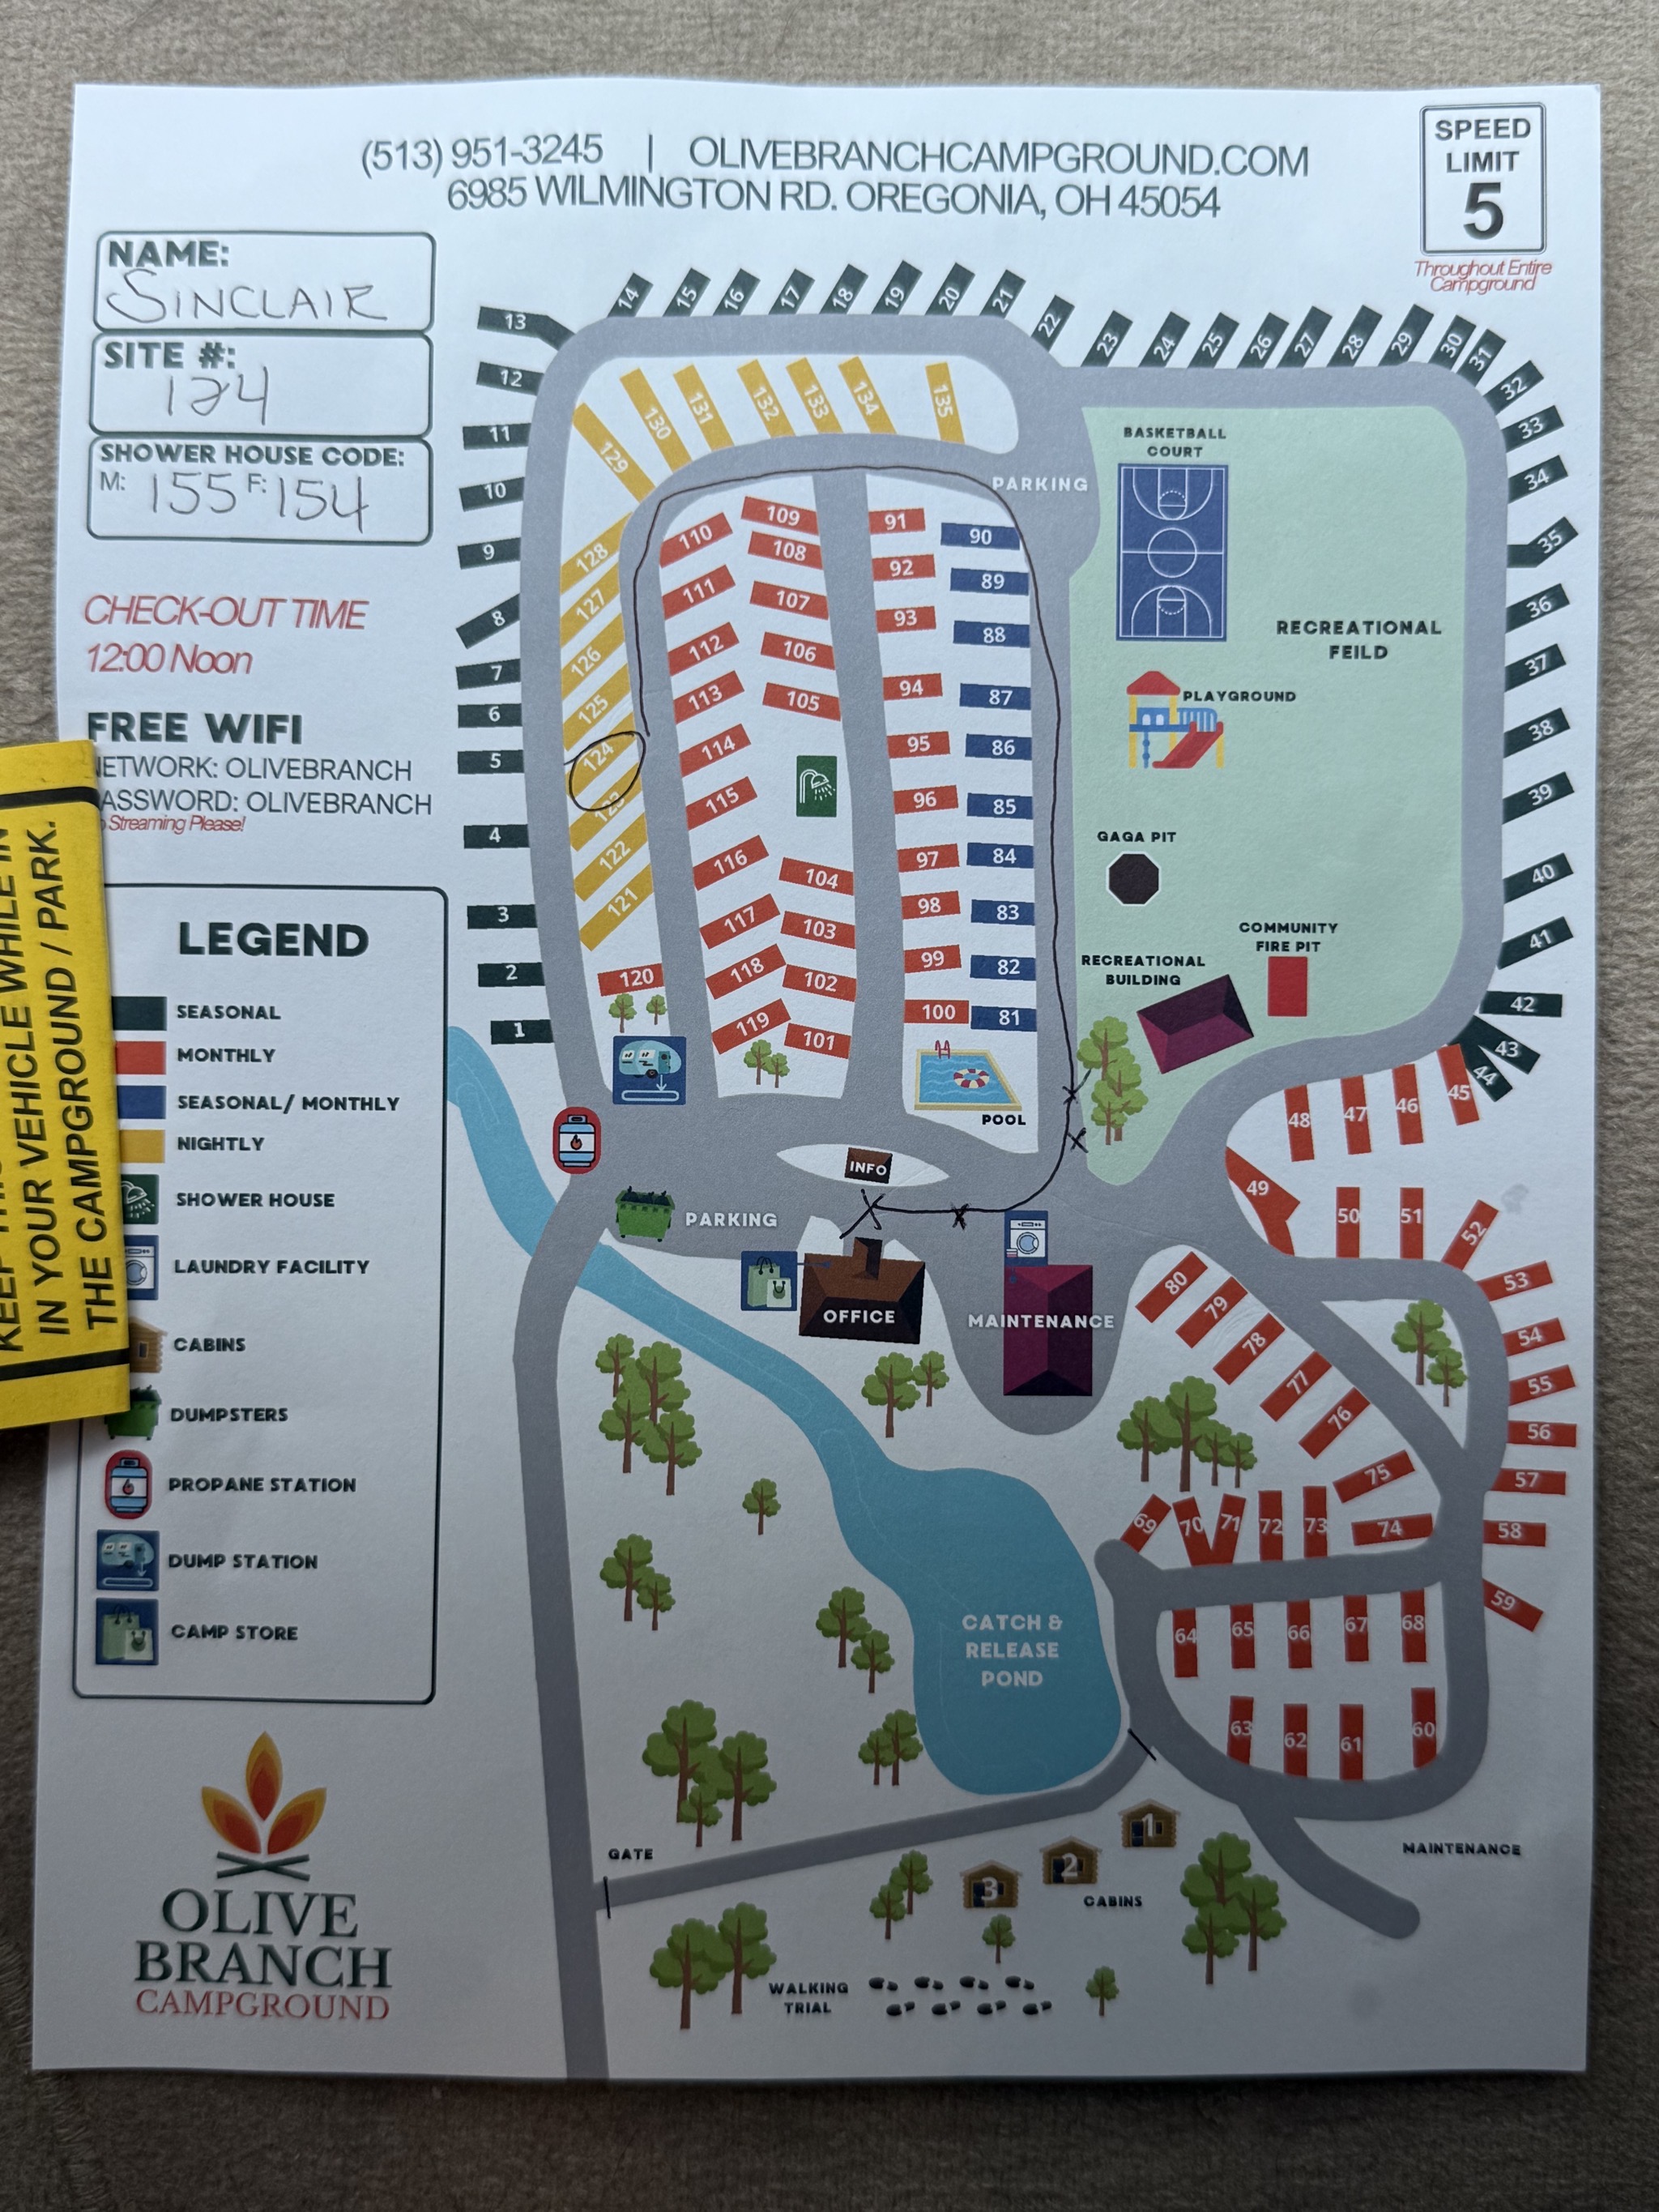
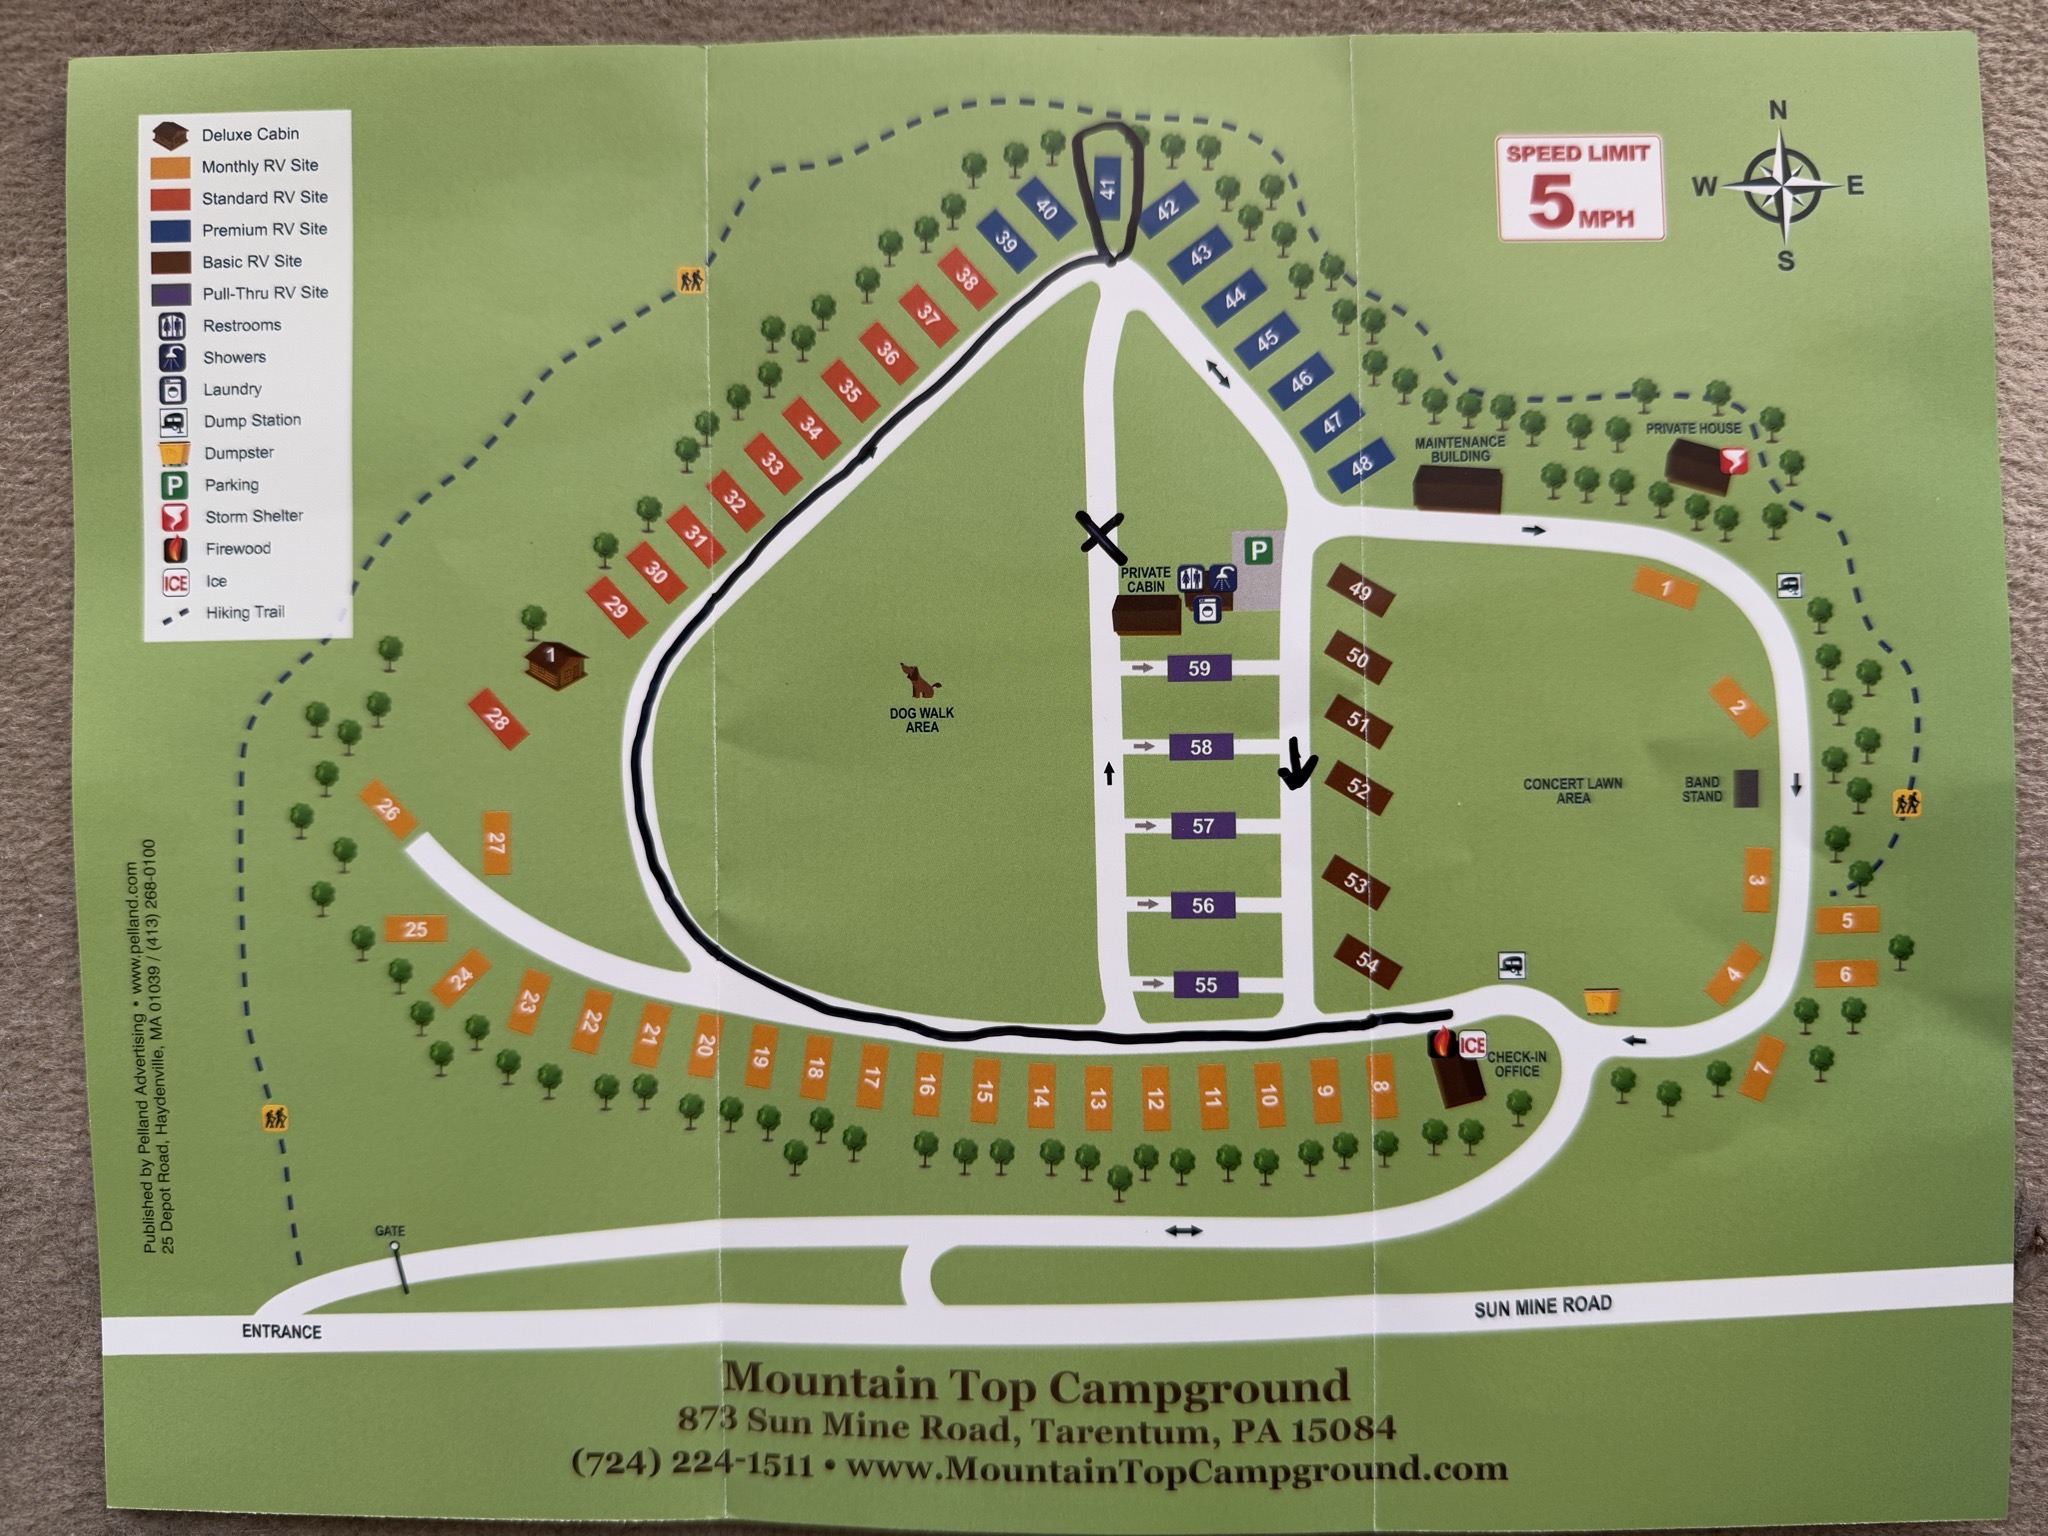
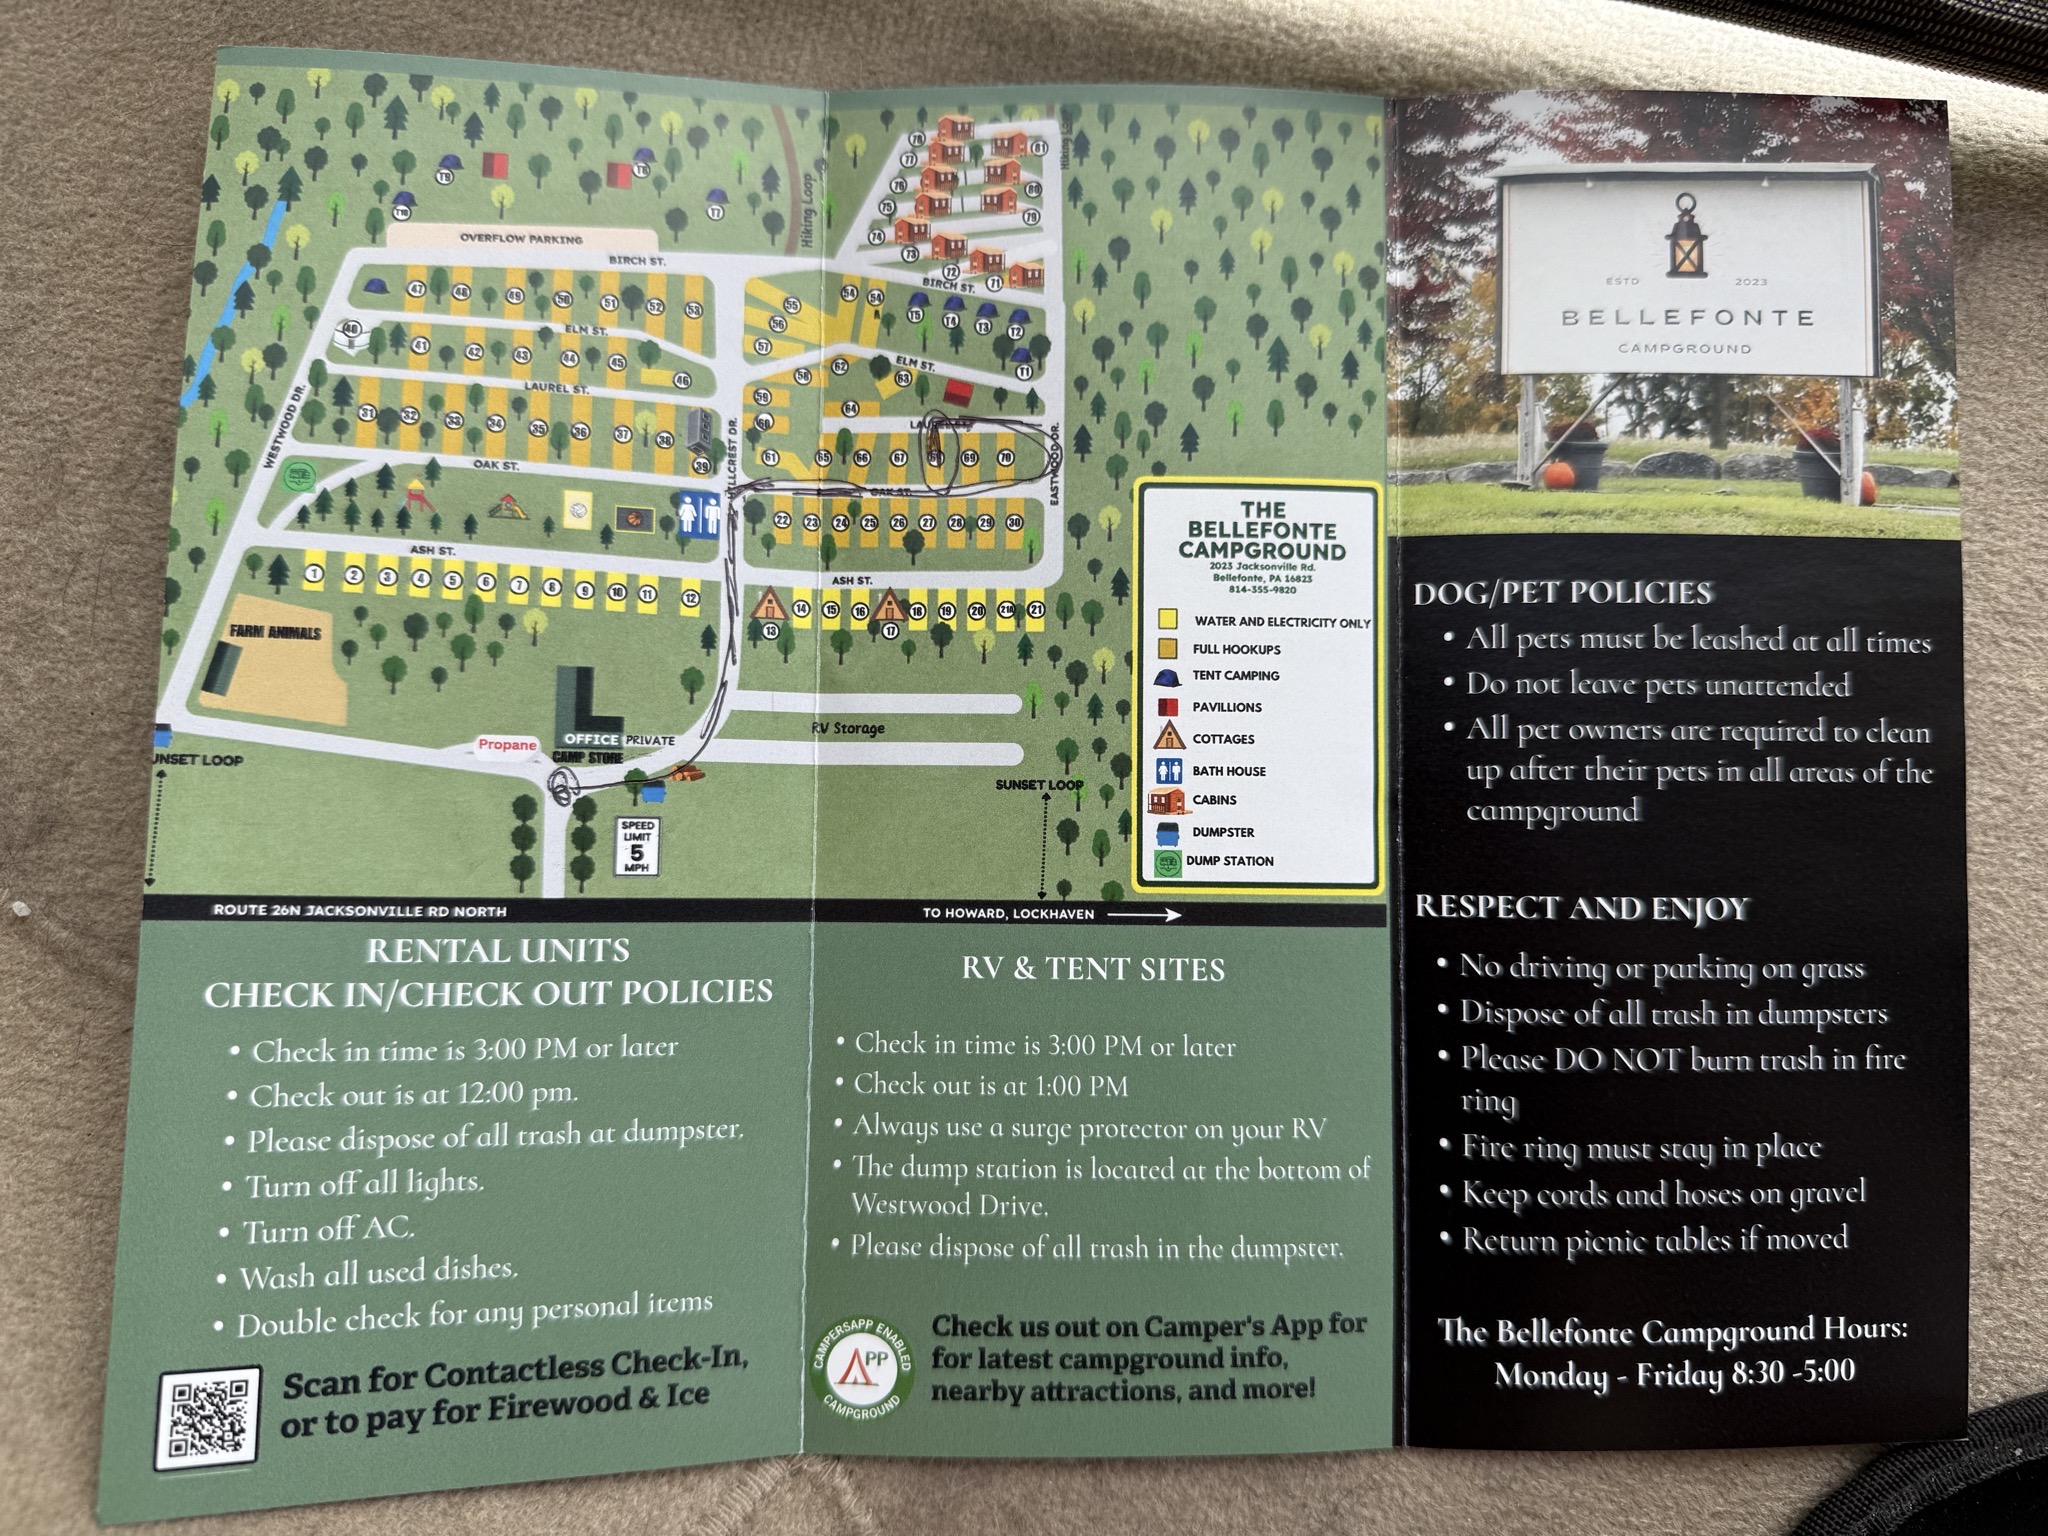
Campground map:

Rainbow:

Napier Beach:

Tiny cabin:

Other sites:

Our site, also with a nice view:

NZ video: Tauranga to Rotorua campervan travel timelapse
A timelapse of driving our rental campervan from Tauranga to Rotorua in New Zealand.
NZ: Tauranga to Rotorua
After spending a couple of days at Mum & Brian’s house, where we had quality time with the fam and got some basics for the van, we were going on an adventure!

Just the two of us, heading towards the place where the scene in that GIF was filmed: Hobbiton. Then on to Rotorua for the night.
An interactive map of our route (with the origin vague for privacy):
We stopped at McLaren Falls for a second breakfast, crossing a one lane bridge:

The van parked; it fit in a normal spot fairly well:

Second breakfast at the Falls Cafe:

Scones and flat white coffees (of course; that’s the only style of coffee we had the entire trip):

McLaren Falls Park looks like a nice park, but no time to explore it; we had places to be:

The falls:


Heading downhill:

Arriving at Hobbiton, with (of course) lots of camper parking:

Sausage roll and coffee for lunch:

Hobbiton selfie:

I feel that Hobbiton deserves its own post, so I’ll do that tomorrow.
Sheep when leaving Hobbiton:

Corrugated iron sheep in Tirau:

Tree tunnel:

Arriving at our first campground of the trip, Willowhaven Holiday Park:

Campground map; we were in site 3 (but not tent site 3 or cabin 3; their map is a little confusing):

Lakefront view from our site:

We just stopped there to register before the office closed, then headed out again, towards Rotorua. Past the home of Zorbing:

You can tell that Rotorua is a major tourist town when even the grocery store has camper parking:

Grocery shopping:

Then we headed to Polynesian Spa for a relaxing soak:

We enjoyed a private lakefront thermal pool:

Afterwards, we had a lavish charcuterie platter and fruit smoothies for dinner:

Then back to our lakefront site:


I hadn’t mounted the Starlink dish on the roof yet, so I placed it in front of our site:

It was a great day. I’ll post about the Hobbiton stop tomorrow. Before that, stay tuned for a timelapse video of our travels; I will have a video on the same day as each travel post.
NZ: Pokeno to Tauranga; family time
Having picked up our campervan from McRent in Pokeno, south of Auckland, we followed Neville and Karan for a couple of hours, about 150 kilometers (93 miles) to Mum and Brian’s house — my mother and her husband — in Tauranga, where we would spend two nights.
As usual, Jenn drove; I was authorized to drive the van, but didn’t, as Jenn prefers to drive and I prefer to navigate and take photos. We work well together.
New Zealand drives on the left side of the road, which is the opposite of the US, but Jenn had seven years of previous experience, albeit about 25 years ago, so wasn’t a total newbie at it. She did great.
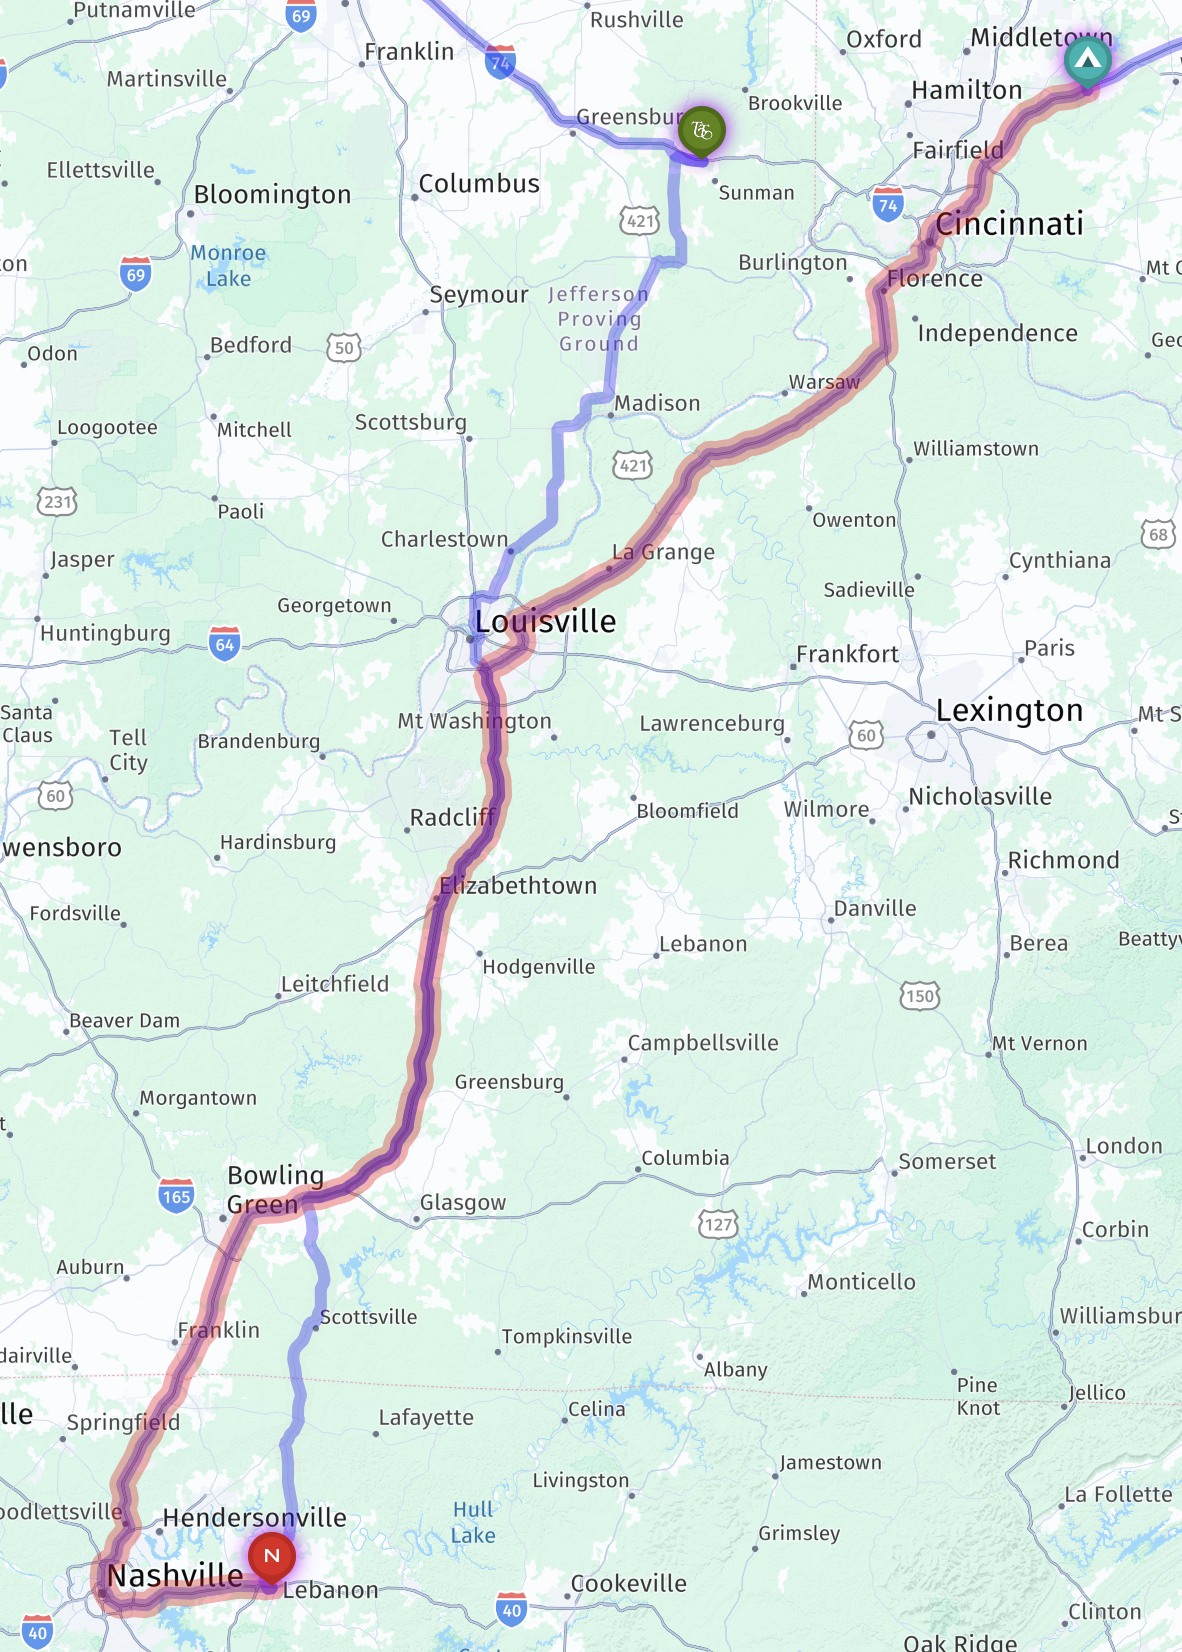
Here’s an interactive map of our route (with the destination vague, for privacy):
Exit towards Tauranga:

Route 2 is the second-biggest highway in the North Island, but is just a one-lane-in-each-direction road through farmland, as is common throughout the country. So encountering farm equipment wasn’t unexpected:


In the small town of Paeroa, there is a large L&P bottle, that I remember visiting as a kid; L&P stands for Lemon & Paeroa, and is my all-time favorite soda beverage:

Another (newer) large L&P bottle on the way out of town:

A bridge in Karangahake Gorge:

The small town of Waihi:

“We Love Avos”:

Roadworks:

“Welcome to Tauranga”:

Downhill towards the harbor:

That night, Nev, Gav, and I went to get some takeaways/takeout from Cafe Istanbul for dinner:

Weird, but tasty:

The next day, we went shopping for basic food and housewares for the van, and stopped in Jesters pies for meat pies and flat white coffees:

Not a lot of pics of our couple of days at Mum & Brian’s place; we were concentrating on spending time with the fam.
NZ: internet and cellular connectivity
While in New Zealand we of course wanted internet connectivity, for navigation, planning, entertainment, and work — Jenn worked for the first week of our trip, and I kept in touch with my customers and clients.
Like in the US, coverage can be mixed in NZ, with some areas with limited or no reception. To ensure we could get connected when needed, we planned four options: Starlink, cell-based Wi-Fi in the van, and two phone cell plans.
The van rental came with a Wi-Fi hotspot, which had an unlimited (but rather slow) plan on NZ’s 2degrees cell network. We didn’t use this very often, since it wasn’t very fast, maxing out at about 12 Mbps down, 10 Mbs up, but typically much slower. But it was definitely nice to have.
Jenn and I each got a travel eSIM for our iPhones. To maximize coverage, we each got different networks; I had a One NZ 40 GB travel plan, and Jenn got a similar Spark travel pack. I figured that 40 GB was plenty of capacity, and it was; we each used a bit less than half. These plans were designed for visitors to the country, so lasted for 90 days then expired, rather than a regular prepay account. They included voice, text, and data; there are international providers that just have data, but we wanted the safety net of voice and text, though only used those features a few times. These cell networks of course varied depending on where we were, but I measured them at around 90 Mbps down, 5 Mbps up.
Finally, we also used Starlink satellite connectivity. I brought our Starlink Mini dish and its cables in my carry-on suitcase. It may seem silly or futuristic to bring a satellite dish in a suitcase, but it’s really small, about the size of a laptop, and was super useful. Like in the US, we used Starlink as our preferred network when around the van. I measured it at around 250 Mbps down, 30 Mbps up.
I mounted the Starlink Mini dish on the metal roof of our campervan, using a magnetic mount that I had delivered to Nev’s place:

I wasn’t sure about getting powerful magnets through airport security (the guidance I read wasn’t clear), so felt it was safer to order one for delivery to NZ rather than bringing that too… plus less bulk in the suitcase.
I routed the Starlink cable across the roof and down the side, held in place with Command Strip clips (that were easily removed at the end of the trip, without leaving any residue), then through the passenger door:

The Starlink cable was plugged into a 12V to 24V step up adapter:
Which was in turn plugged into the 12V socket on the Ecoflow battery, so it would continue to run when the van was in motion:

At least until the battery ran flat; it only lasted about five hours running the Starlink; it was a rather small battery. We could have plugged it into the 12V outlet on the van, but five hours was enough most of the time, and we could fall back to cellular options other times.
Between the Starlink dish and three cell plans, we usually had internet coverage when we wanted it.